
The Bat Cave
It’s been a while since my last update on the blog. Hence, I’m writing about my Halloween art journaling techniques. Halloween is my most favorite time of year. After an extremely hot spring and summer, not to mention the Chinese virus scare and devastating lockdown that ensued, a touch of cooler temps but with a tropical storm brewing just outside our doors in the Gulf of Mexico.
One thing when looking for art journaling ideas, I search Pinterest and the Internet for various projects that interest me. I look for “how to make this” instructions since I’m not a professional. I love learning new techniques. I have my favorite designers/art journalists, however, most are always trying to sell you a “new” something. One other thing that I look for is projects that have supplies I already have. Of course, I do improvise if needed.
The Bat Cave is a good example of improvising. But, I must confess that I did buy Tim Holtz’s Grit-Paste. I have since used this amazing paste on several Halloween projects. Tim Holtz’s designs are probably my most favorite. I have a weakness for his work, in stamps and dies and supplies. Unfortunately that leads to buy, buy, buy!
The Bat Cave . . . “How I Did It:” It screams Tim Holtz – 🎃. First of all, I must give credit where credit is due. (http://madebysannie.blogspot.com/2020/08/grunged-up-bat-cave-card.html) I used the old technique of “squishing” with Distress Inks (Rusty Hinge, Vintage Photo, Expresso, and Black Soot), which to me, leaves an unique pattern each its used. I stamped the background with Tim Holtz Faded Type and AALL & Create Enumerated. A little splatter of Dylusions Black Marble spray, and I was ready to frame the scene with Grit Paste, mixed with black acrylic paint, which, I hope, draws the viewer into the “cave.” Sandy’s tutorial was too fast to figure out how she did the hanging bats. But I devised my own technique with TH Bat Crazy die. I did use the Cosmic Powder (Burnt Orange) which was in the video but not on her list of supplies. Label: “The Bat Cave” was TH Handmade Bigz XL.
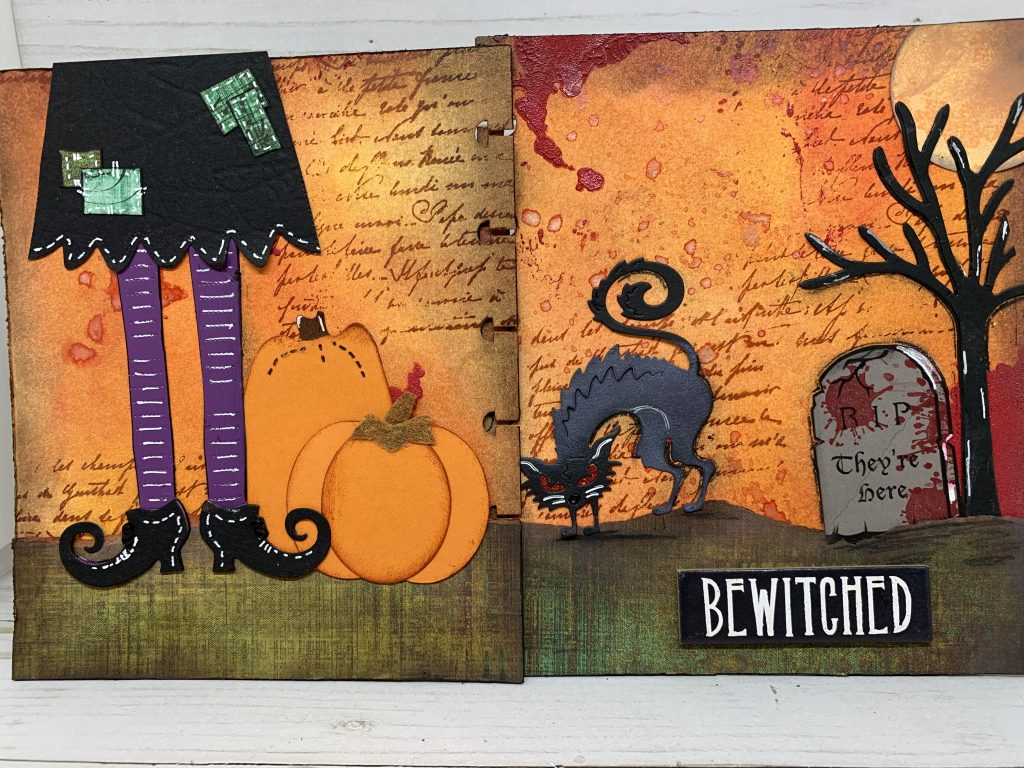
Bewitched
I used 6 x 6.5” watercolor paper (140 lb), and that’s pretty much the type of paper I use for art journaling . . . Watercolor paper (140 lb.) or Mixed Media paper, in various weights. For my background, first, I randomly stamped script with versamark ink for the tone on tone look. I used pan pastels to reveal the script beneath. Pan Pastels are easy to blend but need a fixative to set color. For that eerie touch, I used TCW Mini Splats stencil. my list: Witch – Top Dog Dies Wicked Witch; scary cat – Cheery Lynn Designs Horrible Cat; Pumpkins – QuicKutz Pumpkins; Gravestone – Dies…To Die For Tombstone & Zombie hand, and TH Halloween Chipboard Quotes. FYI: I highly recommend Dies…To Die For Really cool dies, and the good part … reasonably priced with low shipping costs.
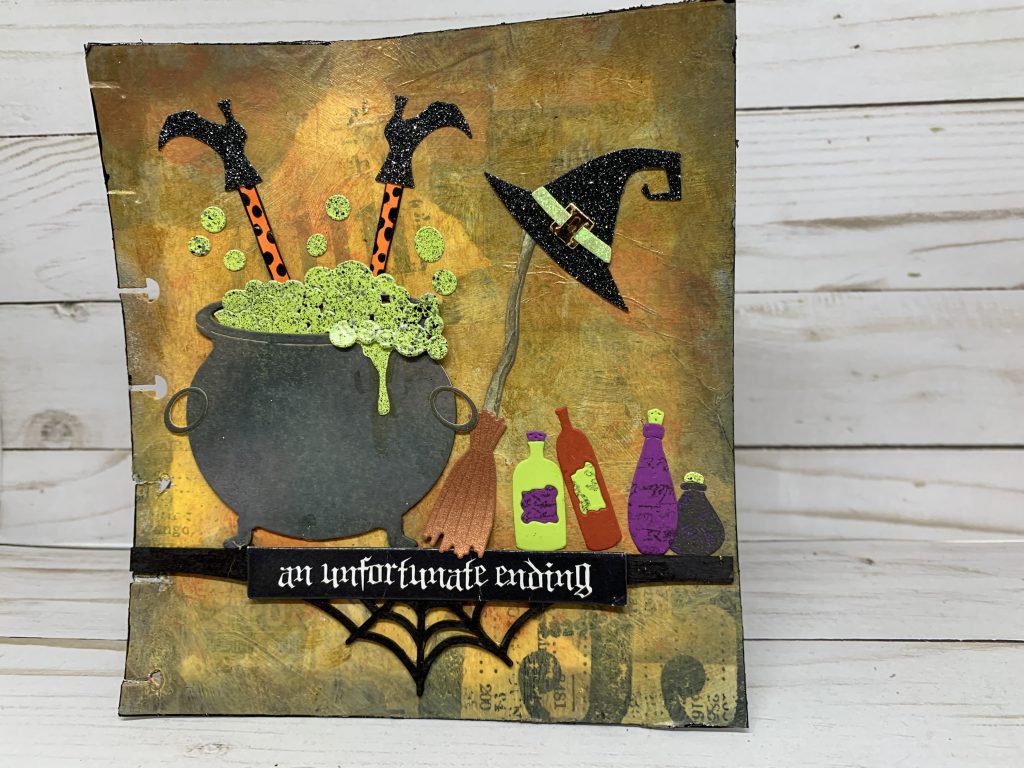
An Unfortunate Ending
Background was a combination of TH Halloween Collage paper, then covered with gesso, but wiping some away with a baby wipe so that the paper showed through. Distress Inks: Rusty Hinge, Expresso, Craved Pumpkin, Black Soot. Witch legs, Hat and Broom: Elizabeth Craft, Karen Burniston Prop 9 die set but I made my own legs. Dies…To Die For Cauldron & Potions (Amazon). TH Halloween chipboard quotes, and TH Spider Web Chipboard.
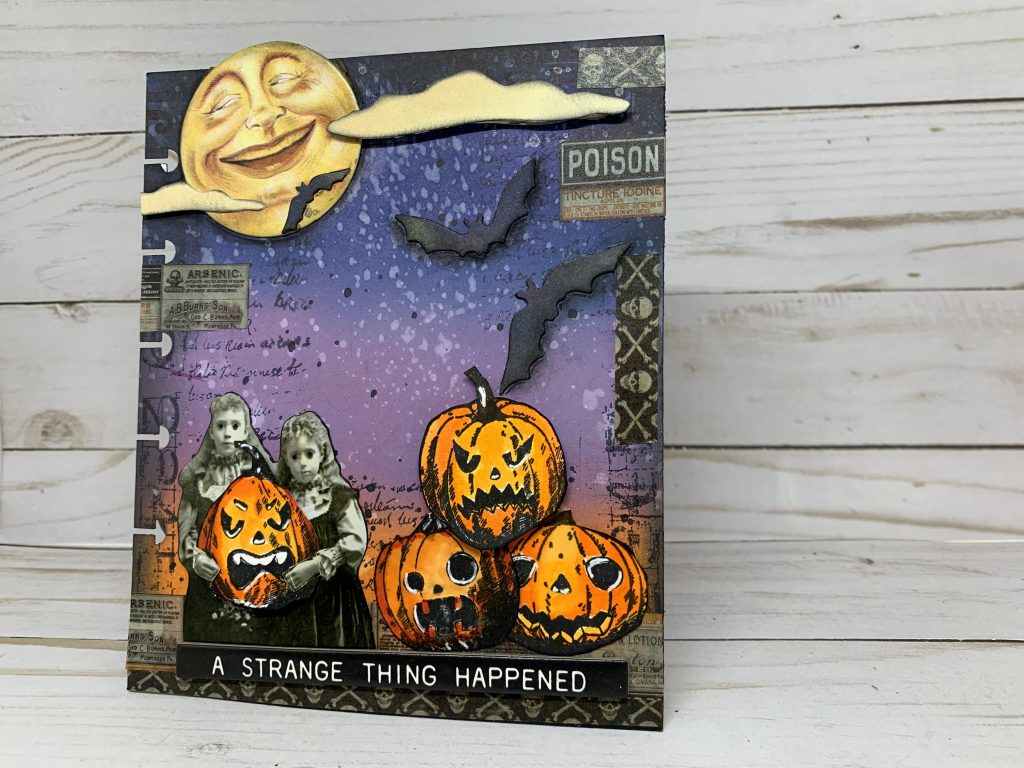
A Strange Thing Happened
This Halloween art journalling project was interesting because it’s exclusive Tim Holtz products. Here is the list: TH Distress Inks in Craved Pumpkin, Dusty Concord, and Chipped Saphire; TH Halloween Paper Dolls; TH Halloween Baseboards (Moon); TH Bat Crazy die; TH Pumpkin Head stamp (colored the pumpkins with Zig Watercolor Markers); TH Halloween washi tape; and TH Halloween Chipboard Quotes.
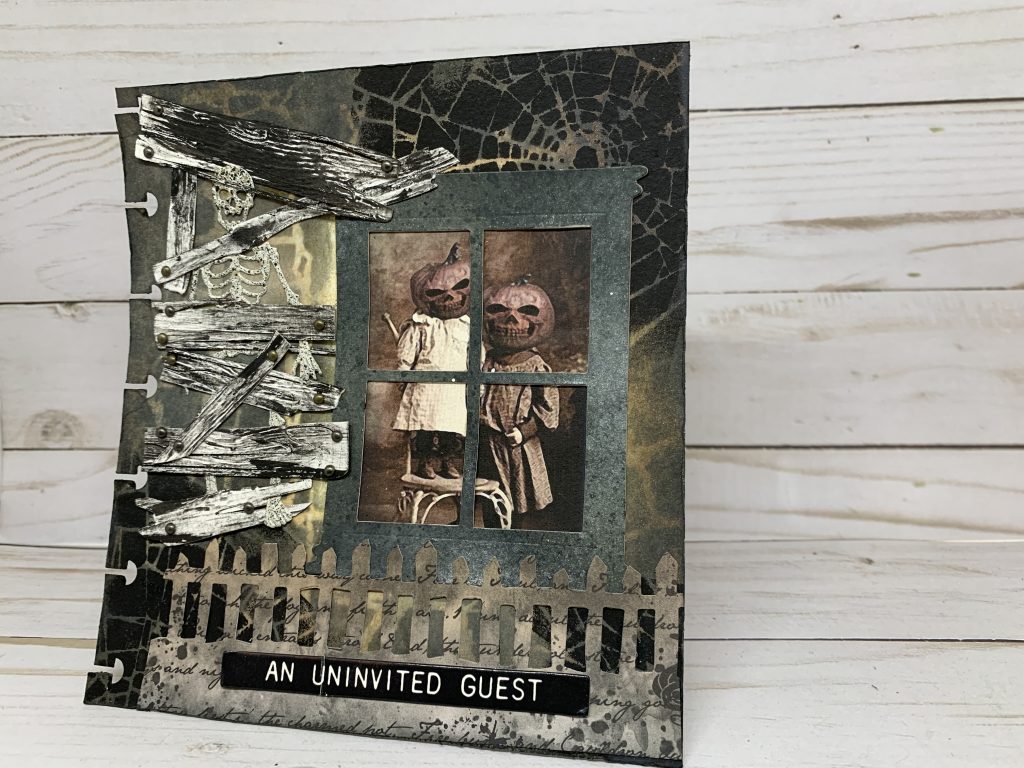
An Uninvited Guest
I saw this on Pinterest but there was no explanation on what supplies were used or really anything about the project. I had some left over supplies from Halloween 2019 of which one was the TH Window and Window Box Bigz die, already colored, as well as the TH On the Fence Bigz die that I had cut out of TH Mini Stash #TH9362. The hard part was finding the creepy pumpkin head photo but I found it by searching for “creepy pumpkin head.” I saved it to my download images, resized it to fit the window, and printed with copy paper (I did use a fixative). The old wood slants were a creation of TH 3D Texture Fades of Lumber (colored with black soot distress inks), cut out using Dies…To Die For Wood Planks. for nails, I used small brads purchased at Michaels. The skeleton is a Dies…To Die For Skeleton and Coffin.
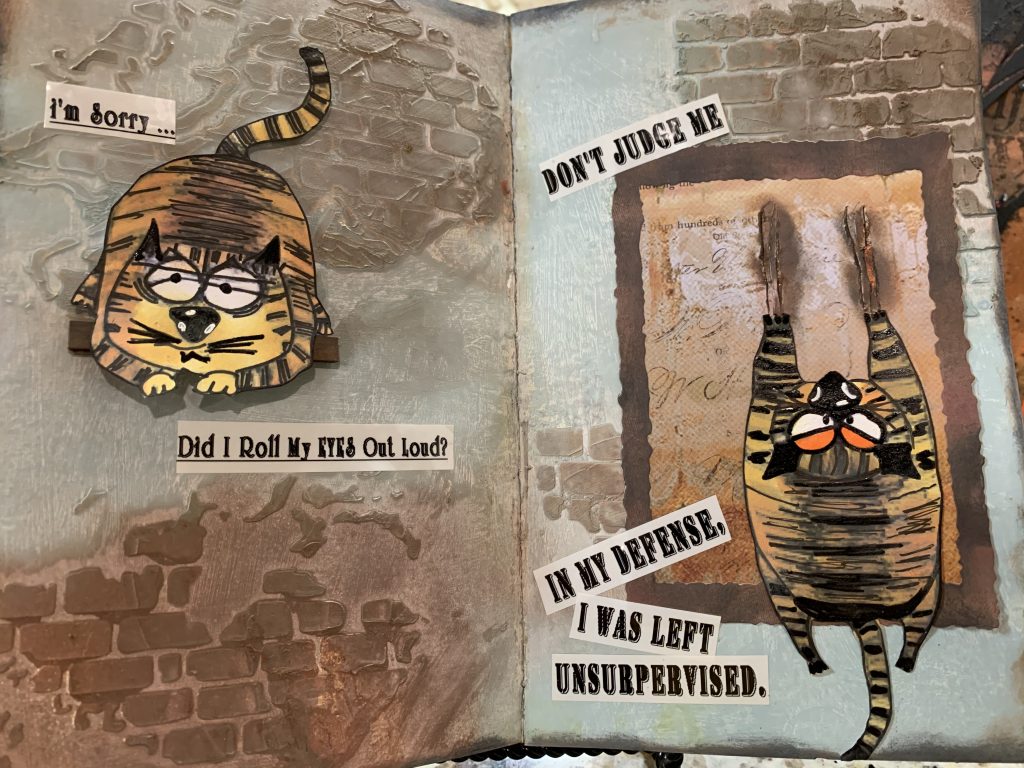
Snarky Cats
This isn’t exactly a “Halloween” theme but I really like my Snarky Cats art journal project. For the background, I spread gesso randomly with Stamperia Stencil torn brick wall. After drying, I sprayed with TH Speckled Egg and Vintage Photo distress spray. I stamped the cats, fuzzy cut and colored with distress inks. I brought back the blacks with a black marker to give it some pizzaz. But of course, I just had to buy TH Snarky Halloween Cats.
Stay tune for more Halloween Art Journaling with TH Snarky Halloween Cats.
